
Kotlin webview with progress bar in Android is today’s example.
Webview is the in-built tool in android interface which helps us to load any website in our android application.
Webview gives us full control like Linearlayout or Relativelayout, so that we can define how many portion of screen will be covered by WebView.
To make a small app like browser, we need to use web view. Web view also gives us facilities like zoom controllers, back and forward buttons etc.
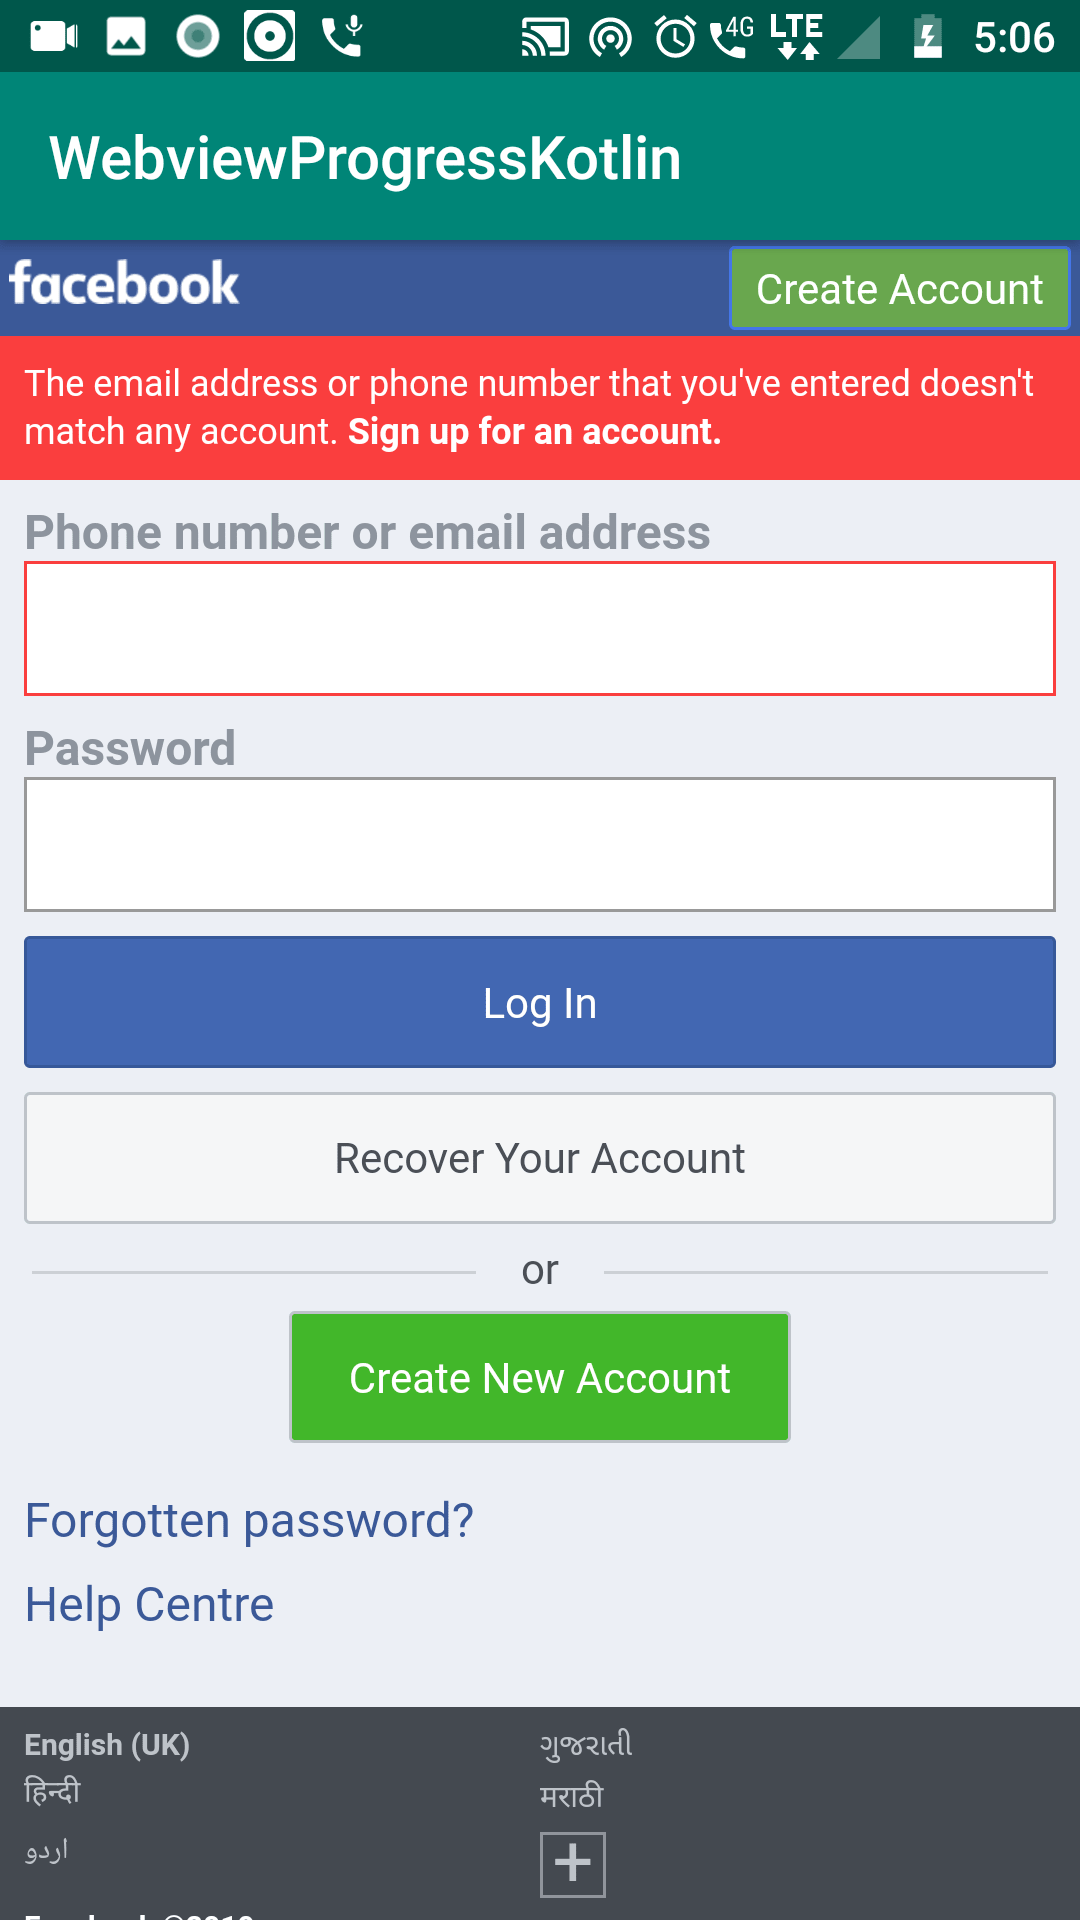
First of all, see the below output images.
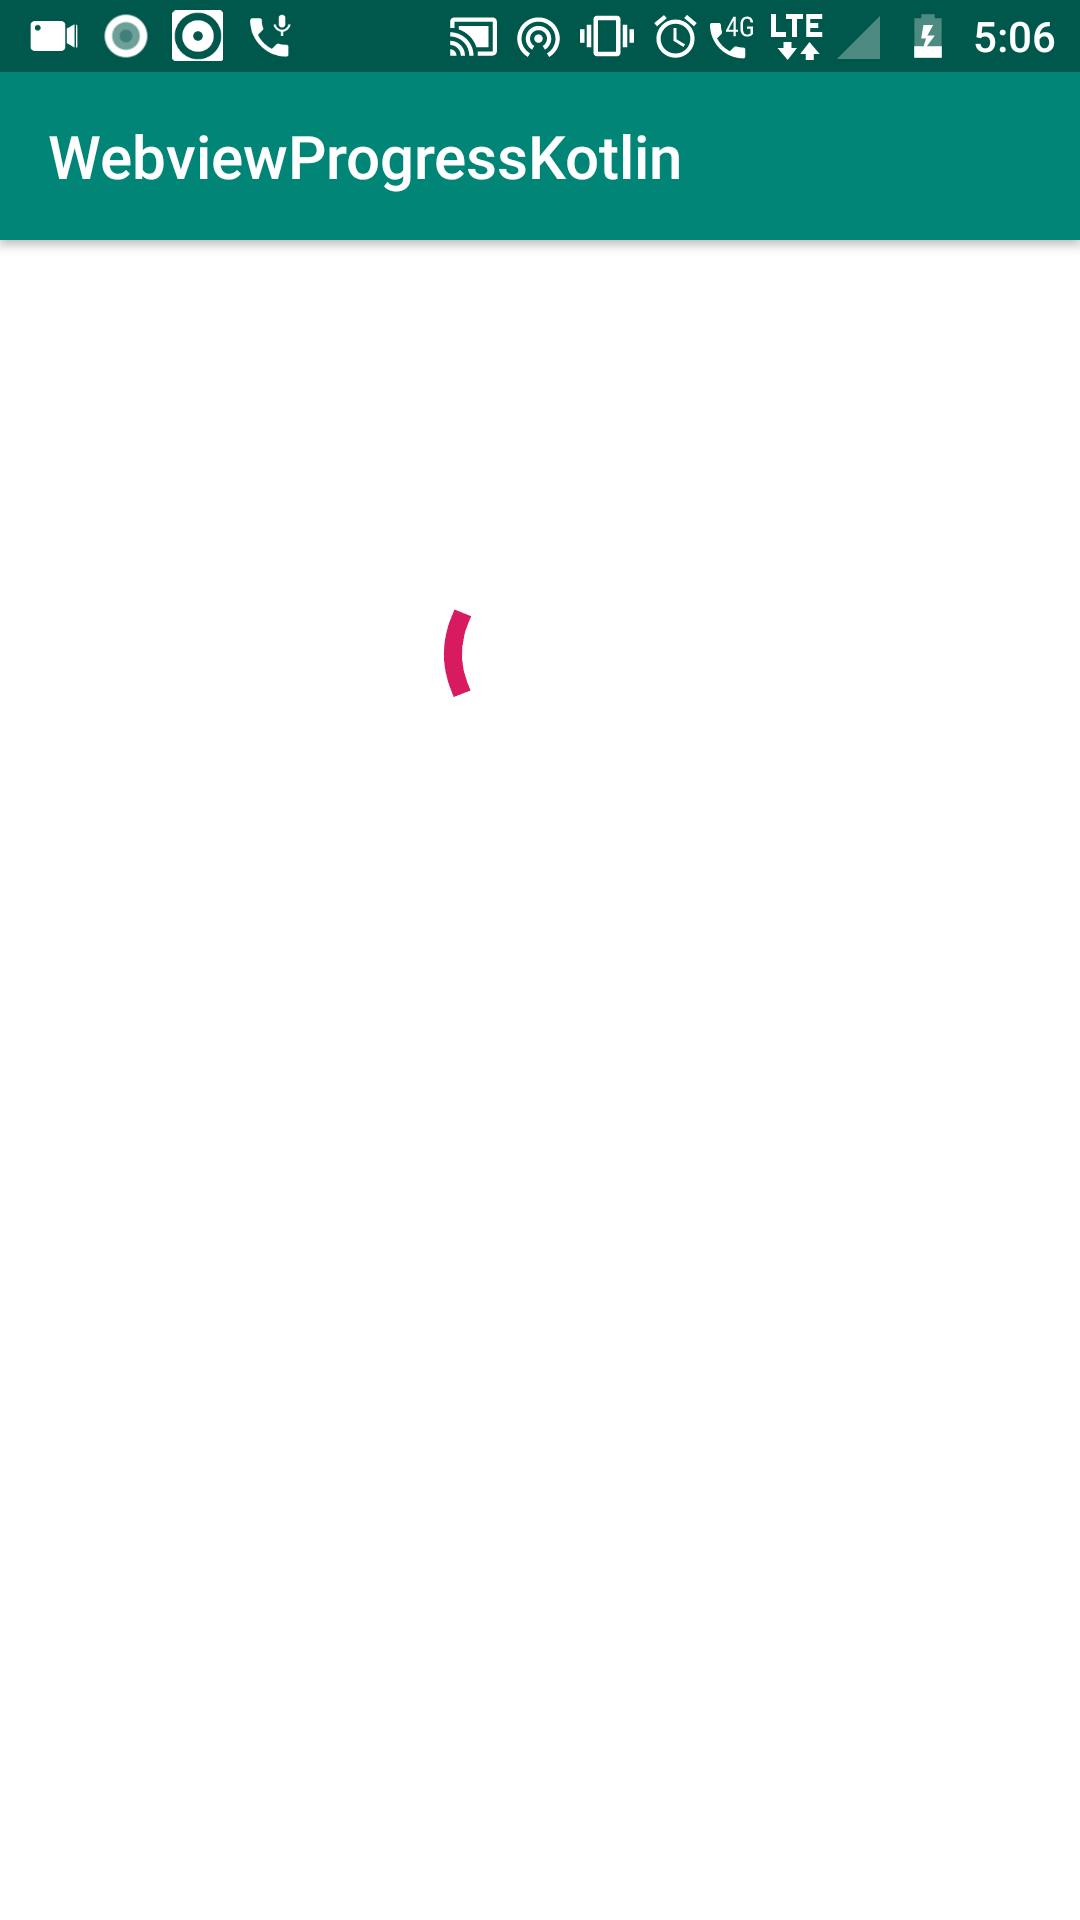

In the first image, android is loading the URL and you can see a progress bar is going on.
In the second image URL “facebook.com” is loaded fully. Third image is the scenario when user clicks the login button after entering wrong username and/or password.
Now follow all the below steps to create this example.
Step 1. About New Project
Open up your android studio and make a new project.
While doing this, make sure that you have selected the empty activity as a default one.
Also, select Kotlin as the main language for the app.
Step 2. Changing the Manifest File
To load the URL, we need to use internet of android device. For this, we will add one permission in our app.
So, open AndroidManifest.xml file and add the below line in it.
<uses-permission android:name="android.permission.INTERNET" />
This line will allow android to use internet. This is the basic permission which is not much dangerous for user so we do not need to ask for runtime permission.
Final source for AndroidManifest.xml file is as the below
<?xml version="1.0" encoding="utf-8"?>
<manifest xmlns:android="http://schemas.android.com/apk/res/android"
          package="com.example.webviewprogresskotlin">

    <uses-permission android:name="android.permission.INTERNET" />

    <application
            android:allowBackup="true"
            android:icon="@mipmap/ic_launcher"
            android:label="@string/app_name"
            android:roundIcon="@mipmap/ic_launcher_round"
            android:supportsRtl="true"
            android:theme="@style/AppTheme">
        <activity android:name=".MainActivity">
            <intent-filter>
                <action android:name="android.intent.action.MAIN"/>

                <category android:name="android.intent.category.LAUNCHER"/>
            </intent-filter>
        </activity>
    </application>

</manifest>
Step 3. Updating Main XML File
You should have one file named activity_main.xml
Write down the below coding line in this file
<?xml version="1.0" encoding="utf-8"?>
<RelativeLayout xmlns:android="http://schemas.android.com/apk/res/android"
                xmlns:tools="http://schemas.android.com/tools"
                android:layout_width="match_parent"
                android:layout_height="match_parent">

    <WebView
            android:layout_width="match_parent"
            android:layout_height="match_parent"
            android:id="@+id/webView"
            android:layout_alignParentTop="true"
            android:layout_alignParentLeft="true"
            android:layout_alignParentStart="true" />

    <ProgressBar
            style="?android:attr/progressBarStyleLarge"
            android:layout_width="match_parent"
            android:layout_height="wrap_content"
            android:id="@+id/progressBar"
            android:layout_alignTop="@+id/webView"
            android:layout_marginTop="100dp" />
</RelativeLayout>
There is one webview and one progress bar is there. Root view is relative layout so that we can show the progress bar above the web view.
Webview is stretched to the full screen however, you can change it’s height and length as per your requirements.
Step 4. Main Kotlin Class
In your MainActivity.kt class, add the following source lines
import android.support.v7.app.AppCompatActivity
import android.os.Bundle
import android.view.View
import android.webkit.WebView
import android.webkit.WebViewClient
import android.widget.ProgressBar

 class MainActivity : AppCompatActivity() {

     var progressBar: ProgressBar? = null
    internal var url = "http://facebook.com"

    override fun onCreate(savedInstanceState: Bundle?) {
        super.onCreate(savedInstanceState)
        setContentView(R.layout.activity_main)

        var wv: WebView? = null

        wv = findViewById<WebView>(R.id.webView)
        progressBar = findViewById<ProgressBar>(R.id.progressBar)
        wv.webViewClient = myWebClient()
       // wv.settings.javaScriptEnabled = true
        wv.settings.builtInZoomControls = true
        wv.settings.displayZoomControls = false
        wv.loadUrl(url)

    }

    inner class myWebClient : WebViewClient() {

        override fun shouldOverrideUrlLoading(view: WebView, url: String): Boolean {

            progressBar!!.visibility = View.VISIBLE
            view.loadUrl(url)
            return true

        }

        override fun onPageFinished(view: WebView, url: String) {

            super.onPageFinished(view, url)
            progressBar!!.visibility = View.GONE
        }

    }

}
Description of Main Class
First of all, see the following lines
var progressBar: ProgressBar? = null
 internal var url = "http://facebook.com"
First line is defining the object of progress bar.
Second one is declaring one variable called “url” and holds the value as “http://facebook.com”
Now consider the below source snippet
  var wv: WebView? = null

        wv = findViewById<WebView>(R.id.webView)
        progressBar = findViewById<ProgressBar>(R.id.progressBar)
        wv.webViewClient = myWebClient()
       // wv.settings.javaScriptEnabled = true
        wv.settings.builtInZoomControls = true
        wv.settings.displayZoomControls = false
        wv.loadUrl(url)
First line is declaring webview object. Then compiler will get the id of webview and progress bar using findViewById() method.
Then there is one webviewclient object. After this, we will do some settings like enabling zoom controlls in webview
We will not show zoom controllers on the web view.
A line wv.loadUrl(url) will finally start to load the URL in the web view.
Now focus on the below codes
 override fun shouldOverrideUrlLoading(view: WebView, url: String): Boolean {

            progressBar!!.visibility = View.VISIBLE
            view.loadUrl(url)
            return true

        }
This method will show the progress bar whenever URL loading process is going on.
Now go to the below lines
 override fun onPageFinished(view: WebView, url: String) {

            super.onPageFinished(view, url)
            progressBar!!.visibility = View.GONE
        }
Compiler will execute the above method when it has finished the URL loading in the webview.
It will simply set the progress bar visibility as a GONE.