
Laravel Datatables Example With Ajax is today’s tutorial.
Yajra datatable is the package which handles server side tasks using jQuery and AJAX.
Datatables provides various useful features like search filter, pagination, sorting of the data etc. while we are displaying the data in the tabular manner.
It works with Laravel dependency injection and IoC container.
We can implement the facilities of datatables by writing only few lines of code.
Final Images of Example
Below are some images of this example.
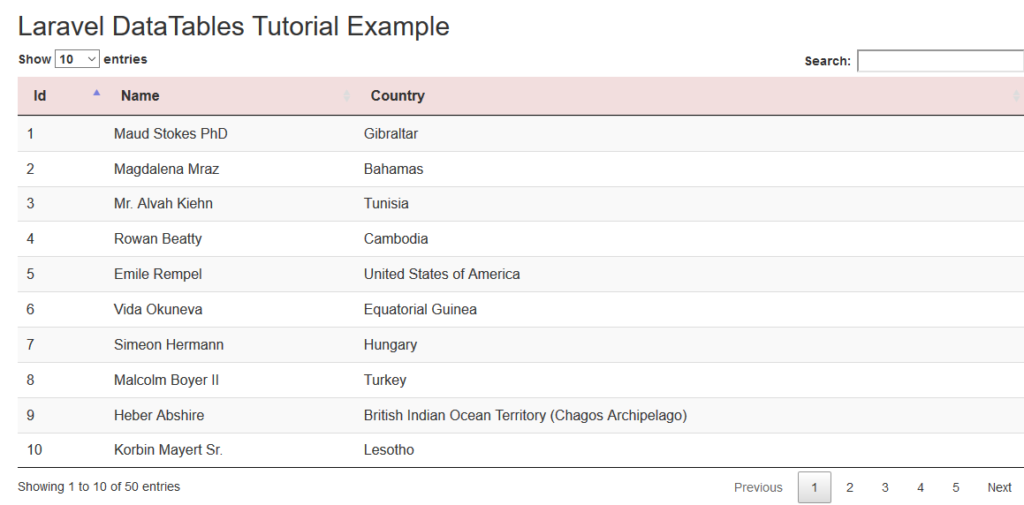
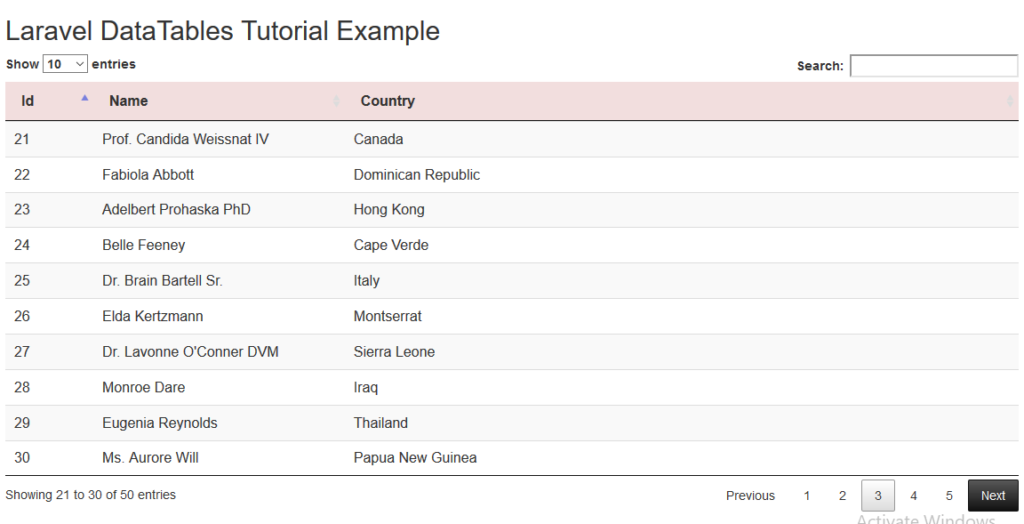
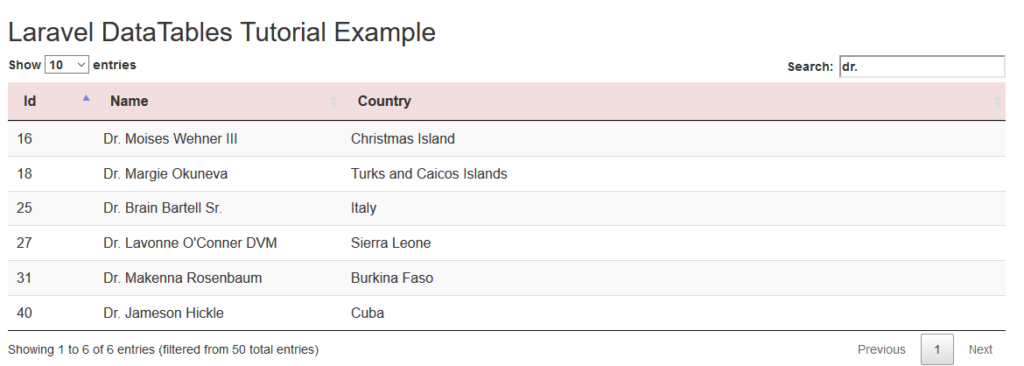
All three images above represent the final outcome of this example.
First image shows the data of the first page. Second one is displaying the data for third page.
Last one is sorting the data based on the search query “Dr.“
Now follow all the below steps to make this example.
Step 1. Database and New Workspace
First of all, run the below command to make a new laravel project.
laravel new laraDatatable
Now to connect it with a MySQL database, open your database management tool.
You may use tool to manage database like phpMyAdmin or sequel pro for mac OS.
Create a new database and give it a name like “laraYajra“.
Now open your laravel project in the code editor like sublime text or visual studio code.
Go to the .env file and see at the below database configuration lines.
DB_CONNECTION=mysql
DB_HOST=127.0.0.1
DB_PORT=3306
DB_DATABASE=laraYajra
DB_USERNAME=root
DB_PASSWORD=
You should update the above lines as per the settings on your machine or computer.
Once you do it, your laravel project is successfully connected with your database.
Step 2. Integrating Yajra Datatables
Now it is time to install the Yajra DataTables in our laravel project.
For this, run the following command in your command prompt or terminal
composer require yajra/laravel-datatables-oracle
Above command will write some necessary files in our laravel project which will help us to use datatables.
Now navigate to the config->app.php file and add the below line in the “providers” array,
Yajra\DataTables\DataTablesServiceProvider::class,
“providers” array, should look like the below,
'providers' => [
        /*
         * Laravel Framework Service Providers...
         */
        Illuminate\Auth\AuthServiceProvider::class,
        Illuminate\Broadcasting\BroadcastServiceProvider::class,
        Illuminate\Bus\BusServiceProvider::class,
        Illuminate\Cache\CacheServiceProvider::class,
        .
        .
        Yajra\DataTables\DataTablesServiceProvider::class,
Now we need to publish the settings that we have done in the app.php file.
So we will publish this changes by using the below command
php artisan vendor:publish --tag=datatables
This command should write some words in the command window. Below are those words

Step 3. Database Table and Records
Now let us create a new table in the database. But before it we need to create the migration file.
So first of all, hit the below command
php artisan make:migration create_employees_table
This command will create the migration file.
Go to the app->database->migrations timestamp_create_employees_table.php file and add the below code in it
<?php
use Illuminate\Database\Migrations\Migration;
use Illuminate\Database\Schema\Blueprint;
use Illuminate\Support\Facades\Schema;
class CreateEmployeesTable extends Migration
{
    /**
     * Run the migrations.
     *
     * @return void
     */
    public function up()
    {
        Schema::create('employees', function (Blueprint $table) {
            $table->id();
            $table->string('name');
            $table->text('country');
            $table->timestamps();
        });
    }
    /**
     * Reverse the migrations.
     *
     * @return void
     */
    public function down()
    {
        Schema::dropIfExists('employees');
    }
}
Now concentrate on the up() method in the above code snippet.
This method contains the names of the columns. There are three columns : id, name and country.
Now run the following command
php artisan migrate
This one will create the table called “employees” in your database.
You should check once in your database if table is created successfully or not.
Now run the below command
php artisan make:model Employee
Above line will create one model class which you can find at app->Employee.php
Source code lines for Employee.php is as the following
<?php
namespace App;
use Illuminate\Database\Eloquent\Model;
class Employee extends Model
{
    //
    public $table = "employees";
}
Now let us enter some data records in this employees table.
For this, navigate to the app->database->factories->UserFactory.php file and write the below code snippet
$factory->define(Employee::class, function (Faker $faker) {
    return [
        'name' => $faker->name,
        'country' => $faker->country,

    ];
});
Above snippet is enabling us to enter fake data like name and country.
You also need to add the below line at the starting of the UserFactory.php file.
use App\Employee;
Whole code block for the file UserFactory.php should look like the following
<?php
/** @var \Illuminate\Database\Eloquent\Factory $factory */
use App\Employee;
use App\User;
use Faker\Generator as Faker;
use Illuminate\Support\Str;
/*
|--------------------------------------------------------------------------
| Model Factories
|--------------------------------------------------------------------------
|
| This directory should contain each of the model factory definitions for
| your application. Factories provide a convenient way to generate new
| model instances for testing / seeding your application's database.
|
*/
$factory->define(User::class, function (Faker $faker) {
    return [
        'name' => $faker->name,
        'email' => $faker->unique()->safeEmail,
        'email_verified_at' => now(),
        'password' => '$2y$10$92IXUNpkjO0rOQ5byMi.Ye4oKoEa3Ro9llC/.og/at2.uheWG/igi', // password
        'remember_token' => Str::random(10),
    ];
});
$factory->define(Employee::class, function (Faker $faker) {
    return [
        'name' => $faker->name,
        'country' => $faker->country,

    ];
});
Now go to your command line and add the below command
php artisan tinker
and then run the following
factory(App\Employee::class, 50)->create();
Now if you hit the enter, system should add the 50 dummy data rows to your table “employees”.
Step 4. Few More Files
Now let create a controller file to write core logic.
Run the following command first
php artisan make:controller EmployeesController
This command will create the controller file.
You can navigate to this file by path : app/Http/Controllers/EmployeesController.php
Now write down the following coding snippet into the EmployeesController.php file.
<?php
namespace App\Http\Controllers;
use Illuminate\Http\Request;
use Redirect,Response,DB,Config;
use DataTables;
use App\Employee;
class EmployeesController extends Controller
{
    //
    public function index()
    {
        return view('employees');
    }
    public function employeesList()
    {
        return DataTables::of(Employee::query())->make(true);

    }
}
You can see that above controller has two functions.
index() function will run the blade view file named “employees.blade.php“, we will create this file later.
employeesList() function will return all the data rows from the Employee table.
We will use the employeesList() function in the “employees.blade.php” file.
Now let us create “employees.blade.php” file. Go to app->resources->views directory and make a new file with name ” employees.blade.php “.
Below is the source code block for the employees.blade.php” file.
<html lang="en">
<head>
    <title>Laravel DataTables Tutorial </title>
        <link href="https://maxcdn.bootstrapcdn.com/bootstrap/3.3.6/css/bootstrap.min.css" rel="stylesheet">
        <link  href="https://cdn.datatables.net/1.10.16/css/jquery.dataTables.min.css" rel="stylesheet">
        <script src="http://ajax.googleapis.com/ajax/libs/jquery/1.9.1/jquery.js"></script>
        <script src="https://maxcdn.bootstrapcdn.com/bootstrap/3.3.6/js/bootstrap.min.js"></script>
        <script src="https://cdn.datatables.net/1.10.16/js/jquery.dataTables.min.js"></script>
</head>
      <body>

         <div class="container">
               <h2>Laravel DataTables Tutorial </h2>
            <table class="table table-striped" id="table">
               <thead>

                  <tr class="danger">
                     <th>Id</th>
                     <th>Name</th>
                     <th>Country</th>
                  </tr>

               </thead>
            </table>

         </div>
       <script>
         $(function() {
               $('#table').DataTable({
               processing: true,
               serverSide: true,
               ajax: '{{ url('employees-list') }}',
               columns: [
                        { data: 'id', name: 'id' },
                        { data: 'name', name: 'name' },
                        { data: 'country', name: 'country' }
                     ]
            });
         });
         </script>
   </body>
</html>
Above blade file will generate the view layout for our example.
Now last thing is to define the routes.
So open the file : app->routes->web.php and add the below lines in it
Route::get('employees', 'EmployeesController@index');
Route::get('employees-list', 'EmployeesController@employeesList');
So that was all about the Laravel Yajra DataTables Example.
Also Read : Laravel Scout Search Tutorial Example.